Share Article
How to Generate a CSR for a Microsoft IIS 10 Web Server (ECC)
Follow the instructions in this guide to use IIS 10 to create an Elliptic Curve Cryptography (ECC) Certificate Signing Request (CSR).
Follow the instructions in this guide to use IIS 10 to create an Elliptic Curve Cryptography (ECC) Certificate Signing Request (CSR).
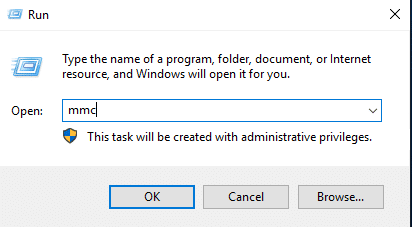
- In the Windows start menu, type MMC and open it:
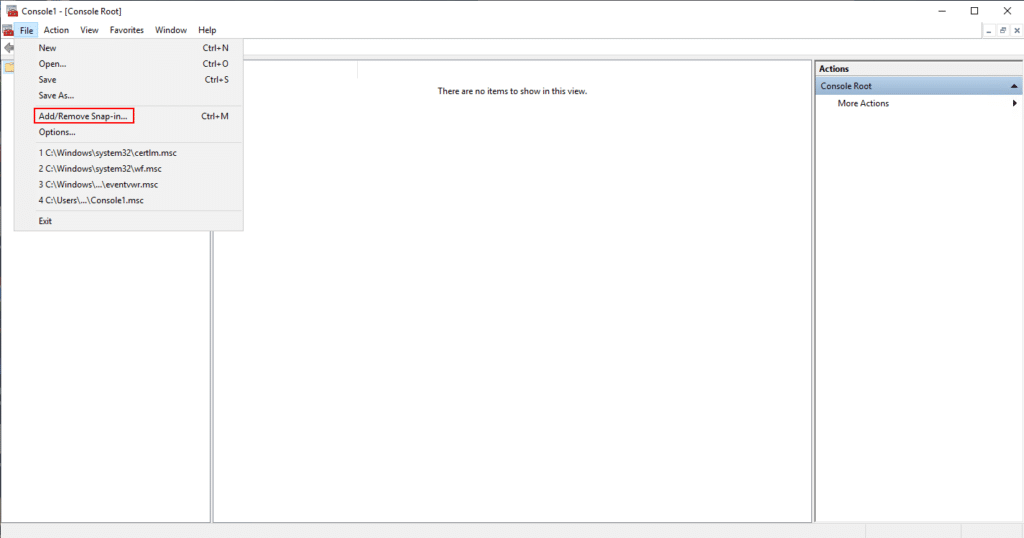
2. In MMC, go to File -> Add/Remove Snap-In:
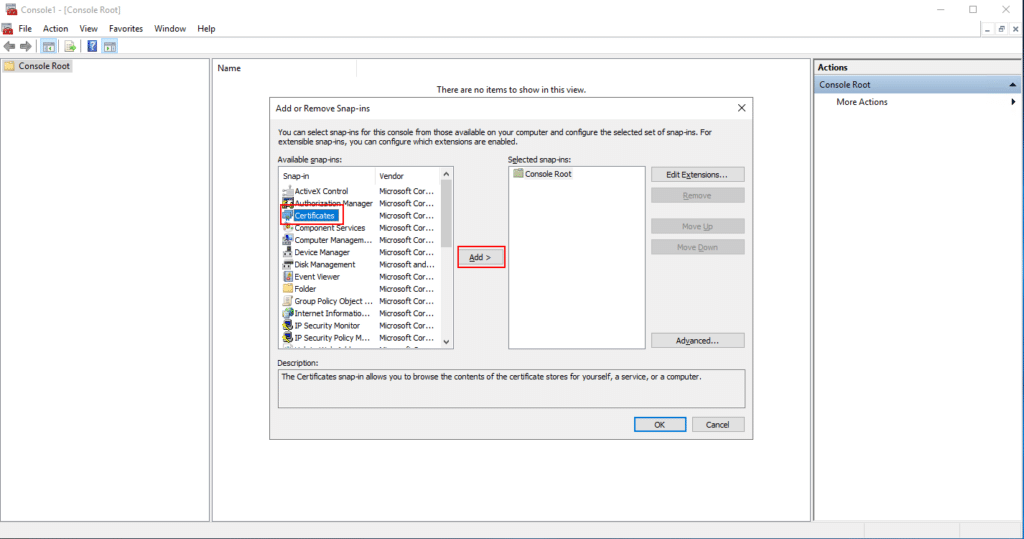
3. Choose the Certificates snap-in and click Add:
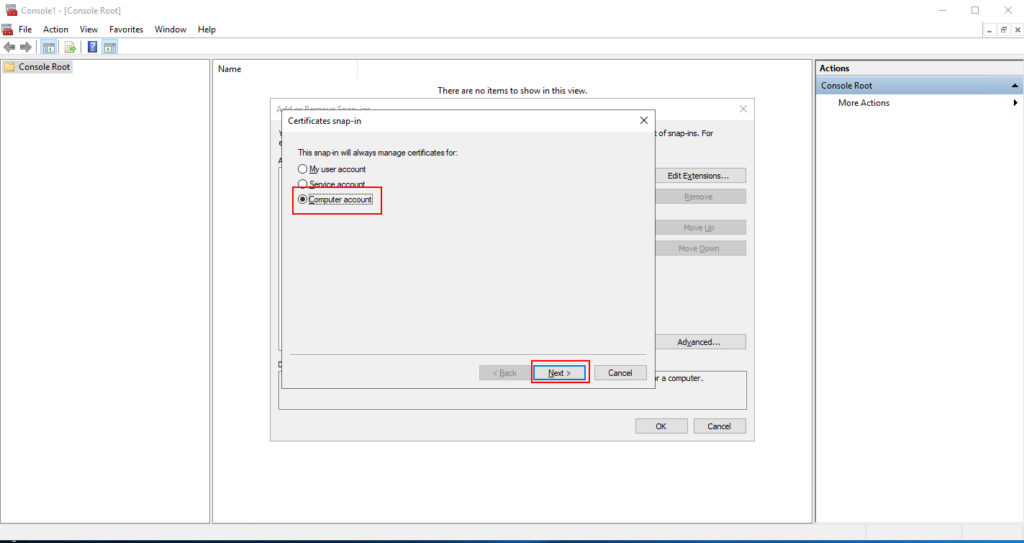
4. Choose Computer account (to manage certificates system-wide):
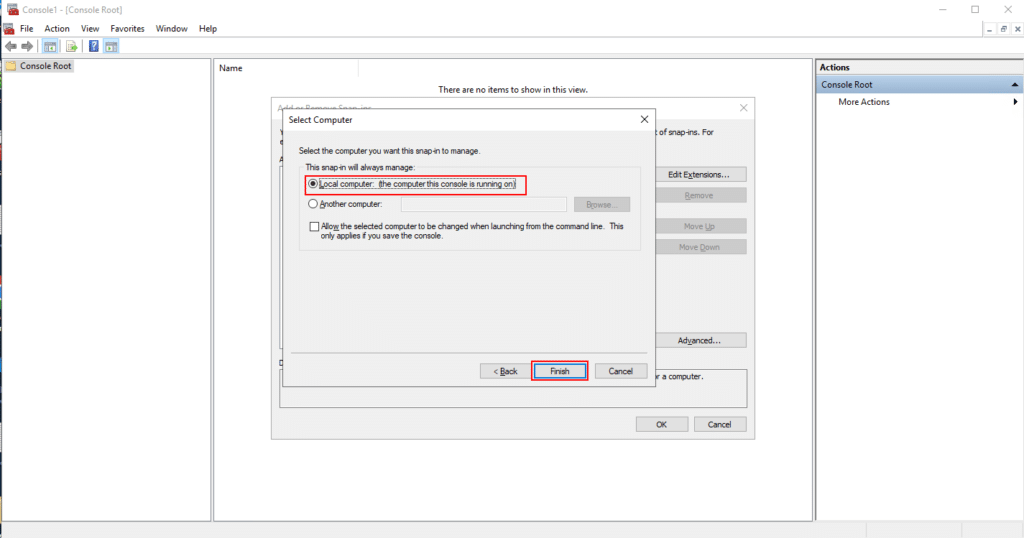
5. Choose Local Computer, click Finish and press OK to exit the snap-in window:
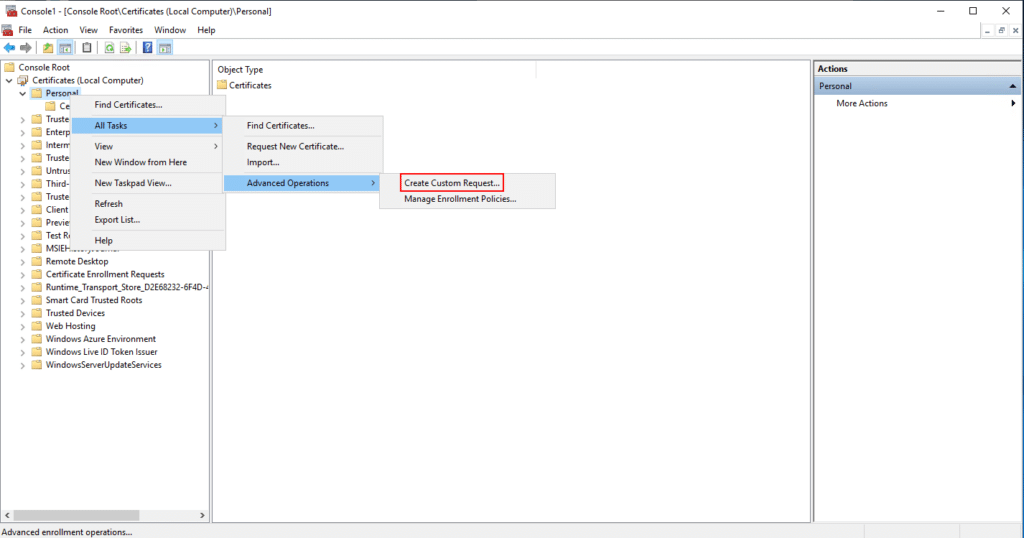
6. In the MMC window, expand the following section Certificates (Local Computer) -> Personal -> Certificates
7. Right-click the Certificates folder and select All Tasks > Advanced Operations > Create Custom Request…
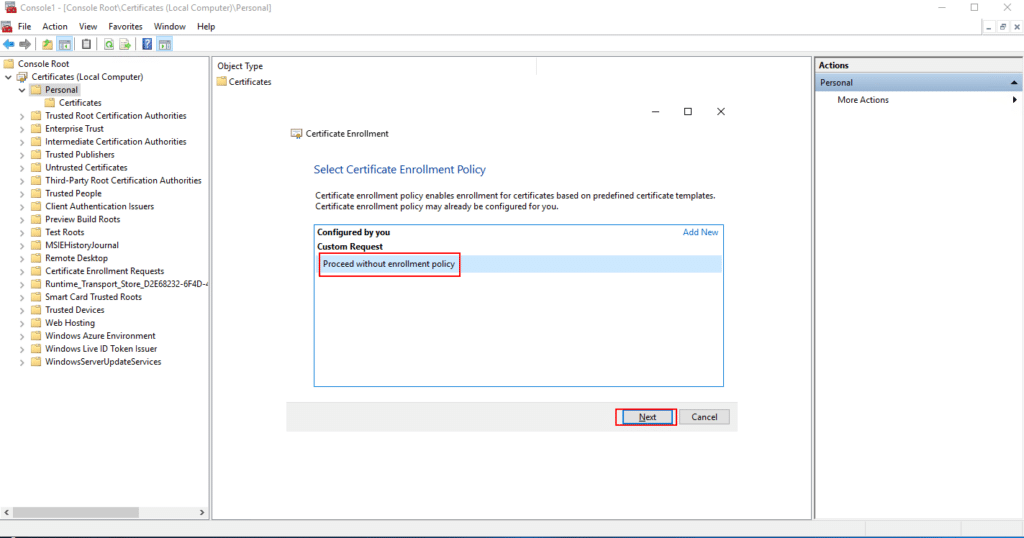
8. Click Next on the Certificate Enrollment window
9. Choose Proceed without enrollment policy. Click Next:
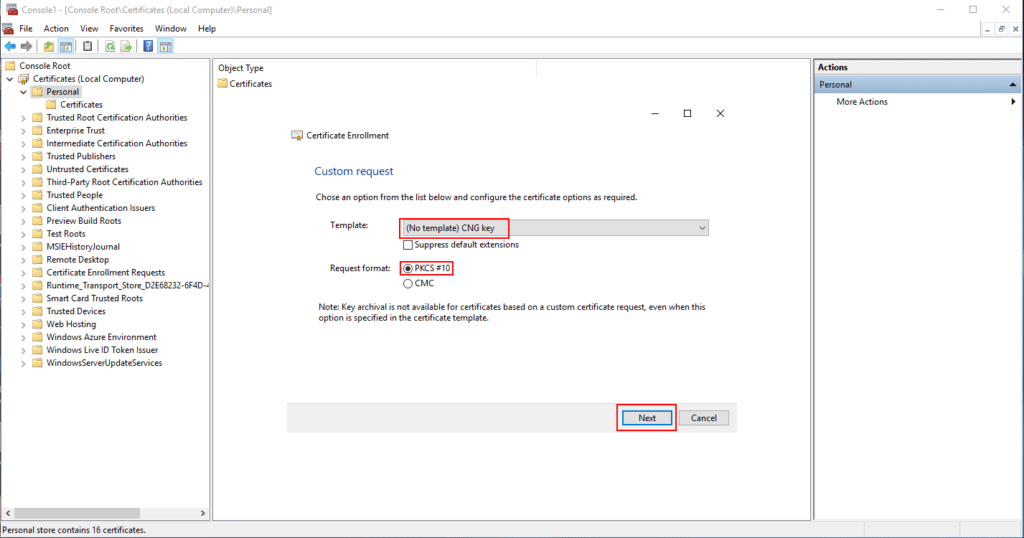
10. Choose CNG Key and the PKCS#10 (these should be the default choice):
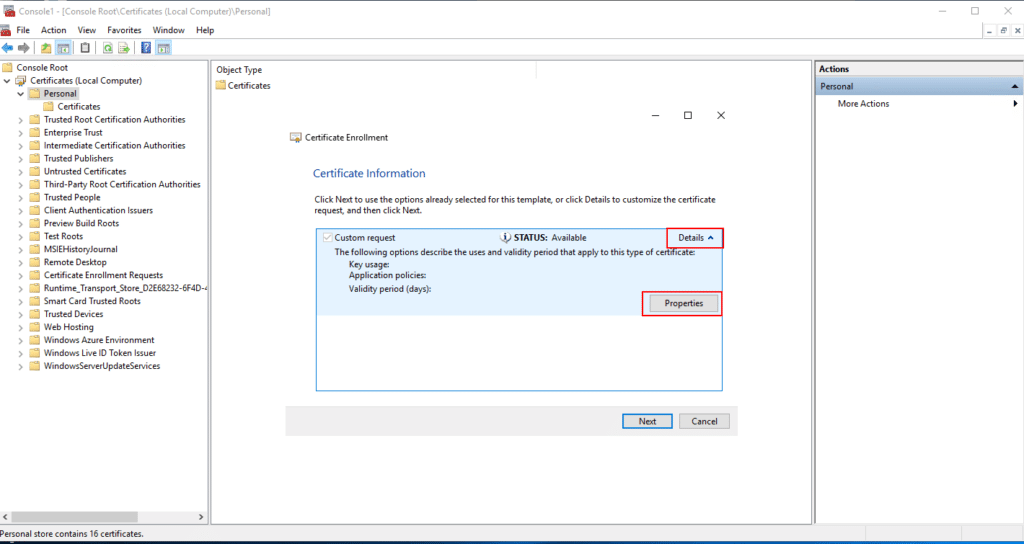
11. Expand the Details section of the custom request and click Properties:
12. On the General tab, fill out a Friendly name and Description. These options are for certificate identification in places like IIS & Exchange. This information does not get vetted or appear on the certificate itself
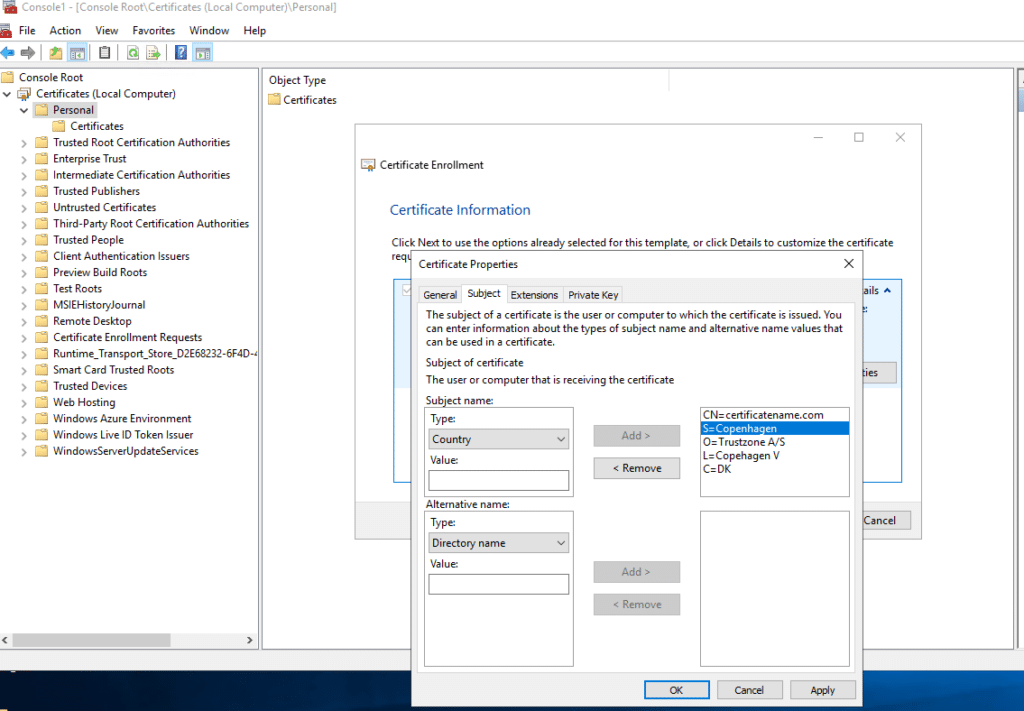
13. On the Subject tab, you can specify various fields to appear in your CSR. Select the field you wish to populate from the drop-down menu, enter a value, and click Add
14. Repeat this for each additional field you wish to specify. At a minimum for a Domain Validated certificate, you should have Common Name and Country If you are ordering a Business certificate please specify Common Name, Country, Organization:
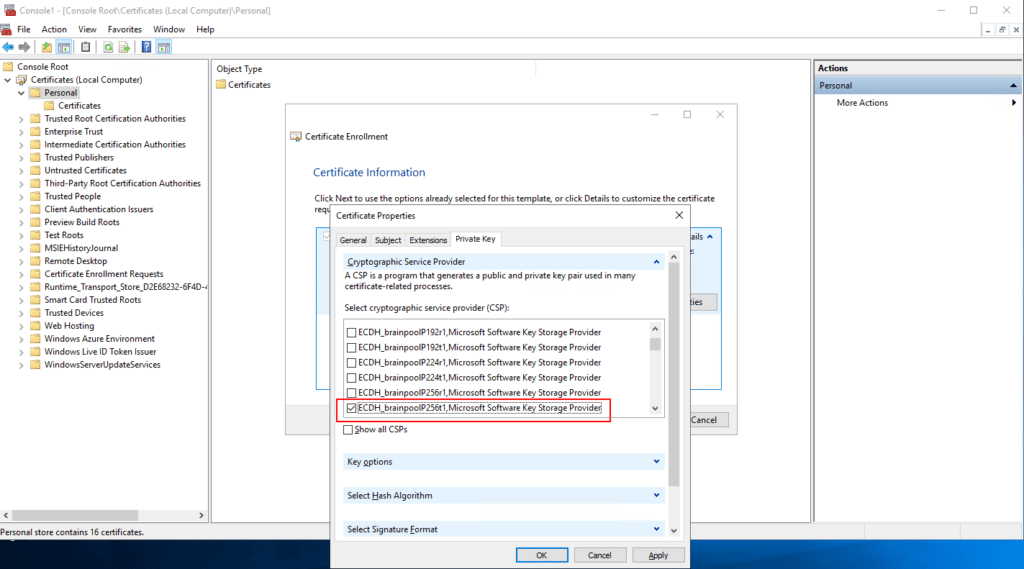
15. Skip to the Private Key tab and expand the Cryptographic Service Provider. Uncheck the first box for RSA, Microsoft Software Key Storage Provider. Choose one of the ECDSA boxes for an ECC provider. In this instance, the P256 curve is chosen (this is the most common):
16. Next, expand the Key Options section. Here you can set the key size (Please set it to a minimum of 256). You can also mark the key as exportable, this is needed if you want to install the certificate on other devices.
17. Click Apply, then click OK
18. Click Next to continue the Certificate Enrollment process
19. Lastly, choose the Base 64 option and click Browse to choose a location for your CSR.

Jon Tittmann
Vetting/Support Team Lead & OpEx
Jon has been an integral part of TRUSTZONE for the past six years, during which he has acquired substantial expertise in the cyber security field. As the team leader for our support team, he possesses a profound understanding of the sector, enabling him to resolve even the most complex challenges within the certificate industry effectively.
