Share Article
ACME Pro with IIS and DNS validation
Step-by-step guide to setting up TRUSTZONE ACME Pro on IIS with a wildcard certificate and DNS validation
This guide describes the process for setting up ACME Pro with the TRUSTZONE configured simple-acme client for IIS with a wildcard certificate. The validation used in this guide is DNS-01 challenge using the AzureDNS plugin.
The purpose of this guide is to give an example on how the DNS-01 challenge works with an ACME client.
You can find a list of other DNS provider plugin available for simple-acme on this link: simple-acme
1. To download the pre-configured client please go to tcp.trustzone.com and log into your account. Then go to the “ACME Pro” tab and select “IIS Server” to download to your server.

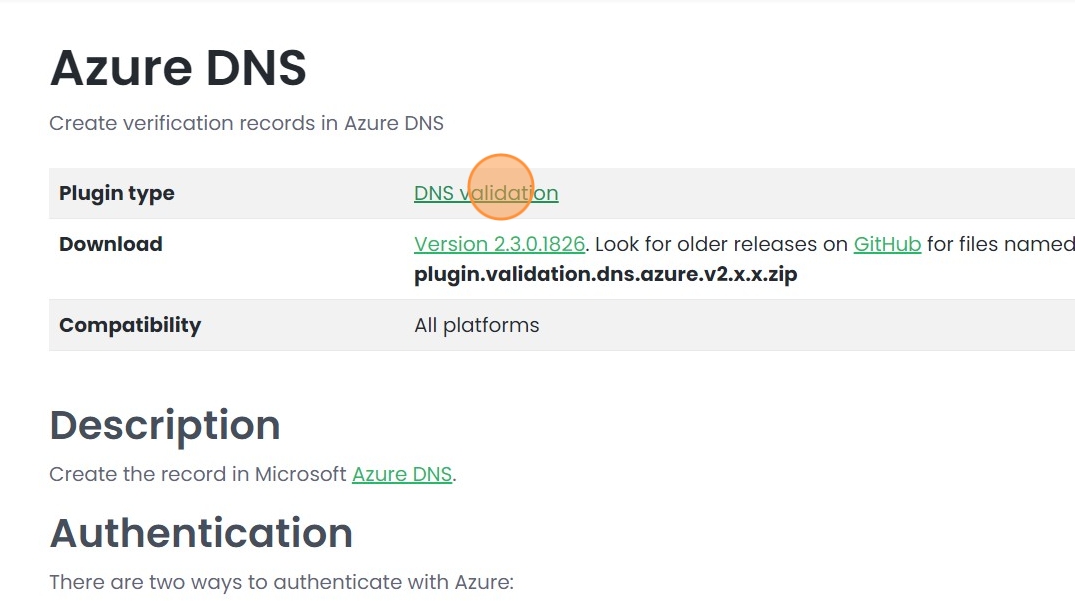
2. After downloading and unzipping the agent a plugin is needed for your DNS provider. As this guide will uses AzureDNS as the example we will download theAzure DNS plugin for simple-acme
Tip: To use the plugin with an AzureDNS credentials needs to be generated for the client for instructions on how to do this please see the following guide:
DNS Validation with Azure DNS – Trustzone
As mentioned in the guide you will need to these values to set up your client with AzureDNS
- Application (client) ID)
- Directory (tenant) ID
- Client Secret value
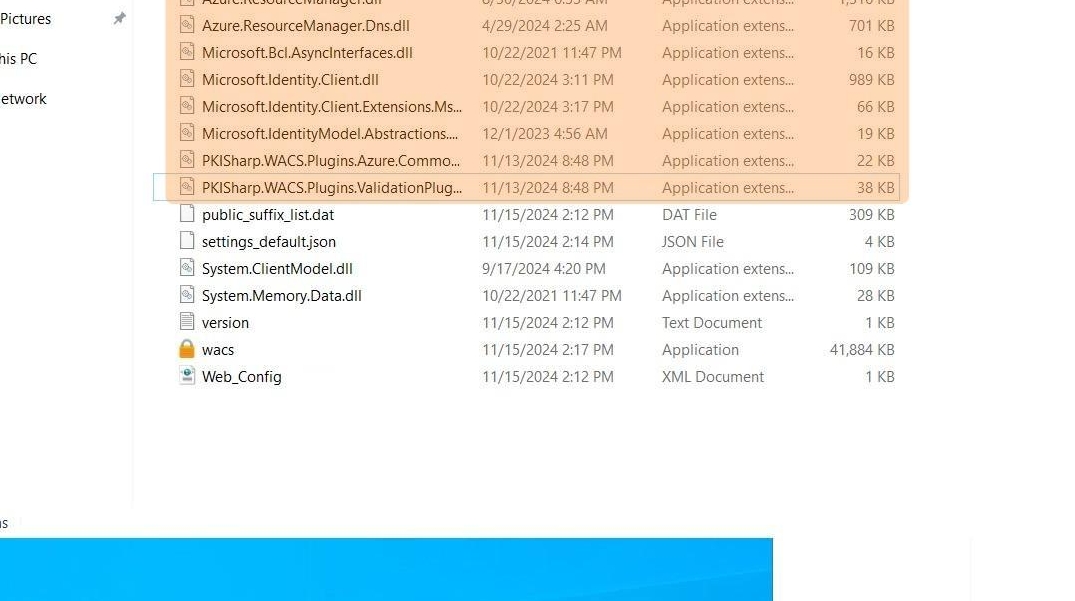
3. Unpack the plugin in your simple-acme client folder
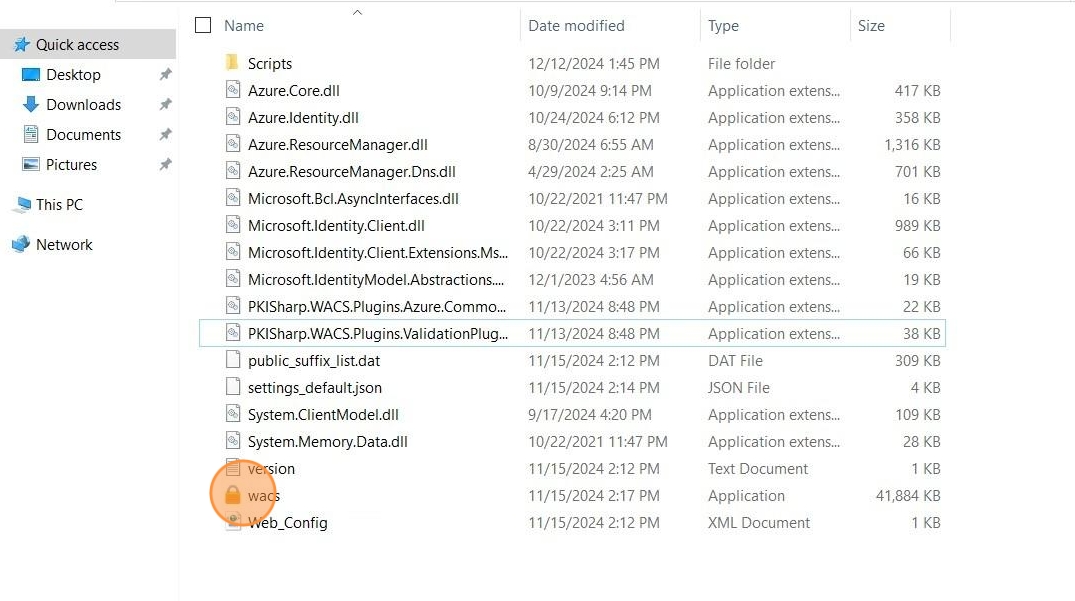
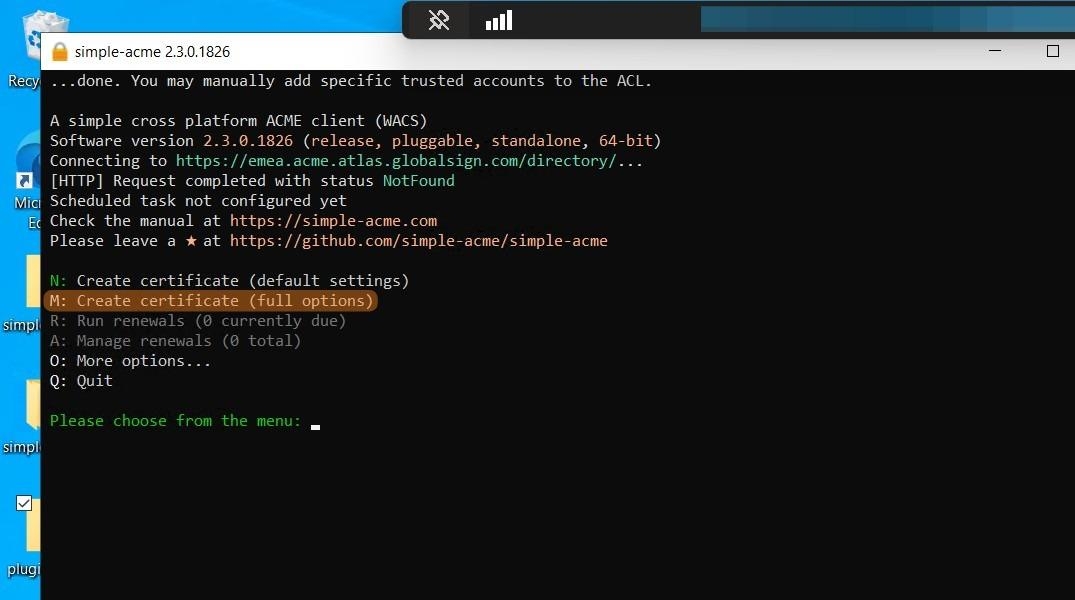
4. Start wacs.exe as Administrator
5. Press M to select “Create Certificate (Full options)”
6. If the Azure plugin has been unpacked correctly. You should see an option to “Create verification records in Azure DNS”, please select this option by pressing 6 and select your Azure Environment – In most cases it will be the standard AzureCloud environment.

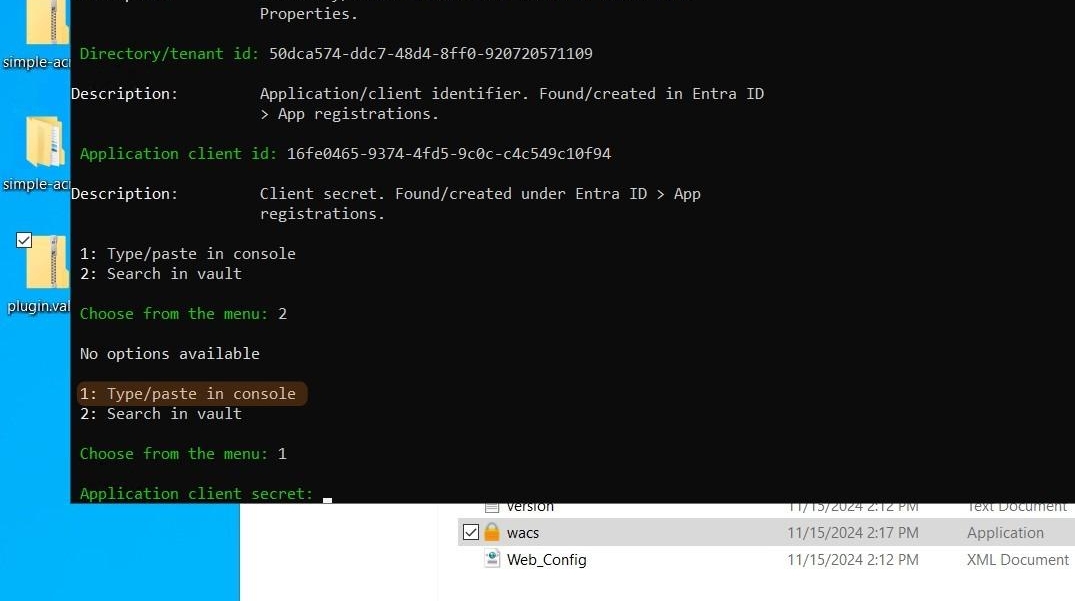
7. Input your tenant id

8. Input your Application client ID

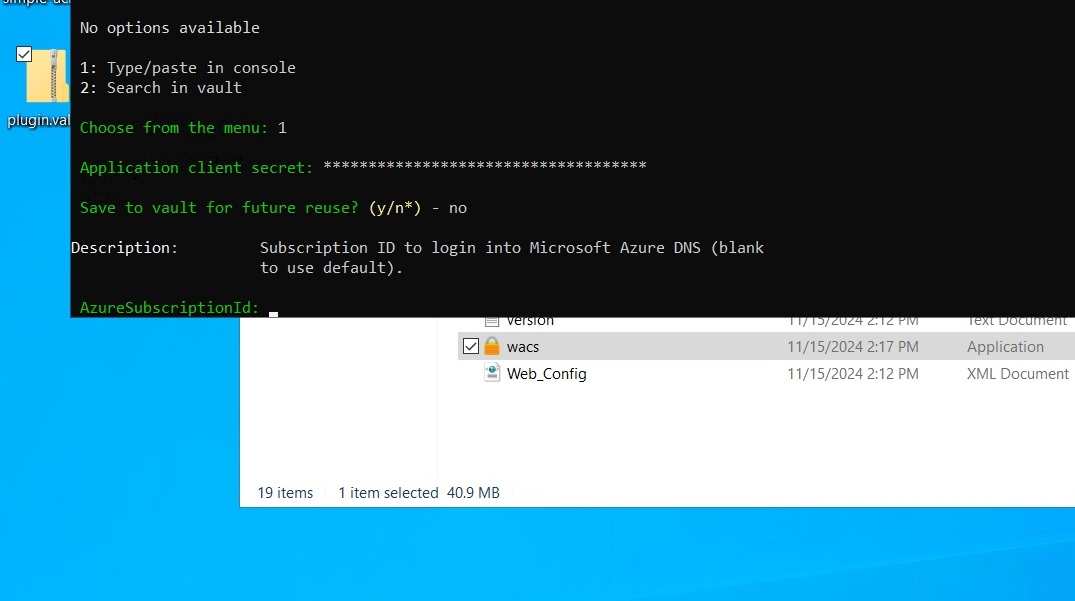
9. Select “1: type/paste in console” and enter your client secret. Afterwards you will be prompted if you wish to save it to the simple-vault vault for future use. If you do not intend to to order additional certificates from the client you do not need to save the the secret in the vault.
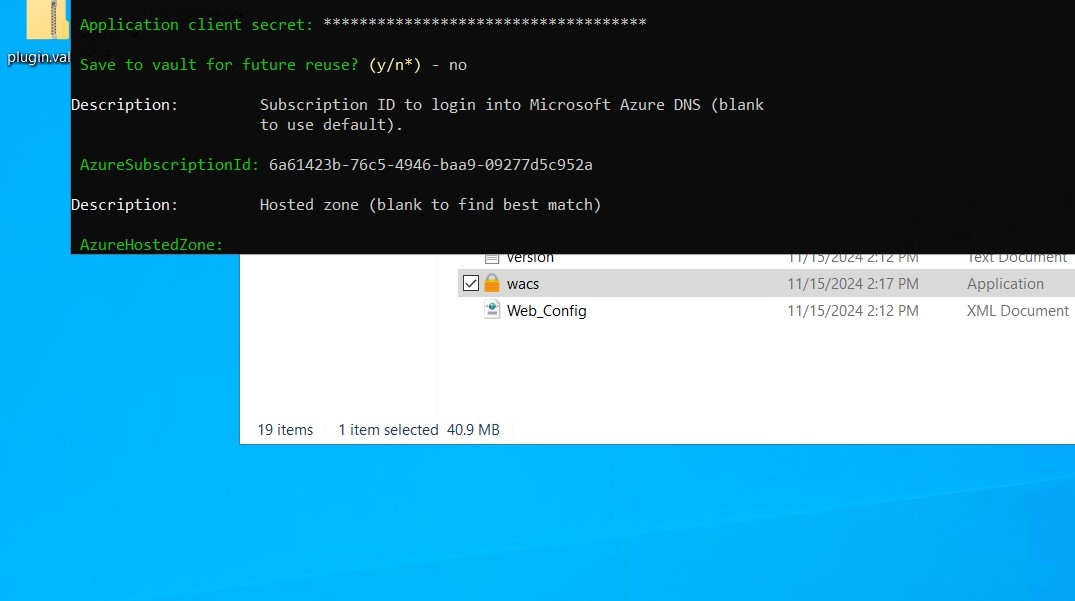
10. Input your subscription Id
11. Input your Azure hosted zone
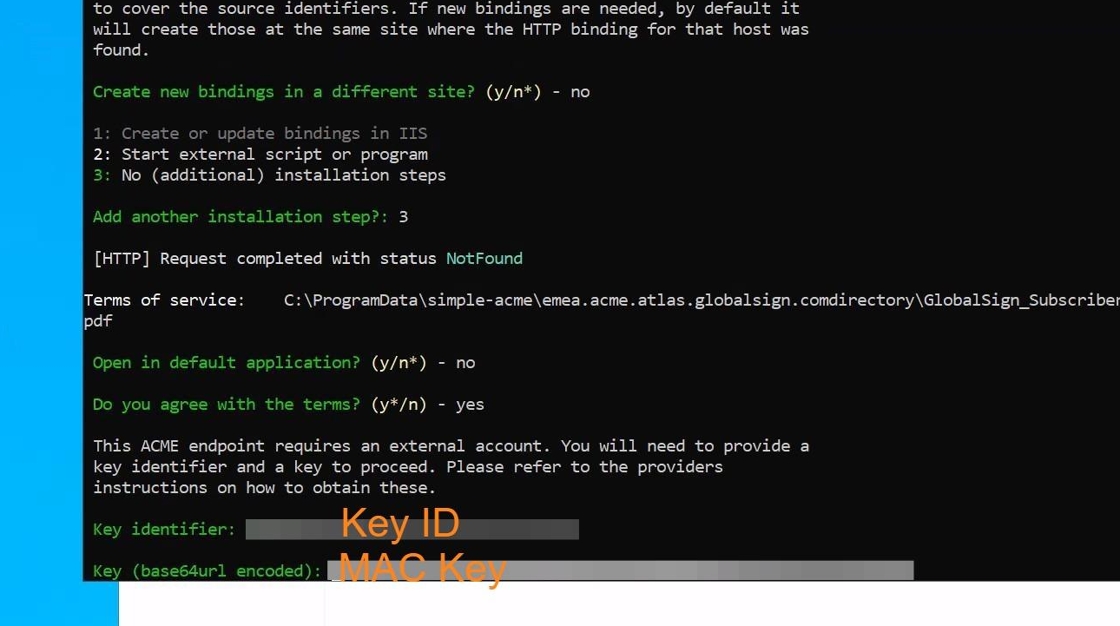
12. You will then be asked to accept the Subscriber agreement. When the Subscriber agreement has been accepted you will need to input credentials from your TRUSTZONE ACME PRO account.

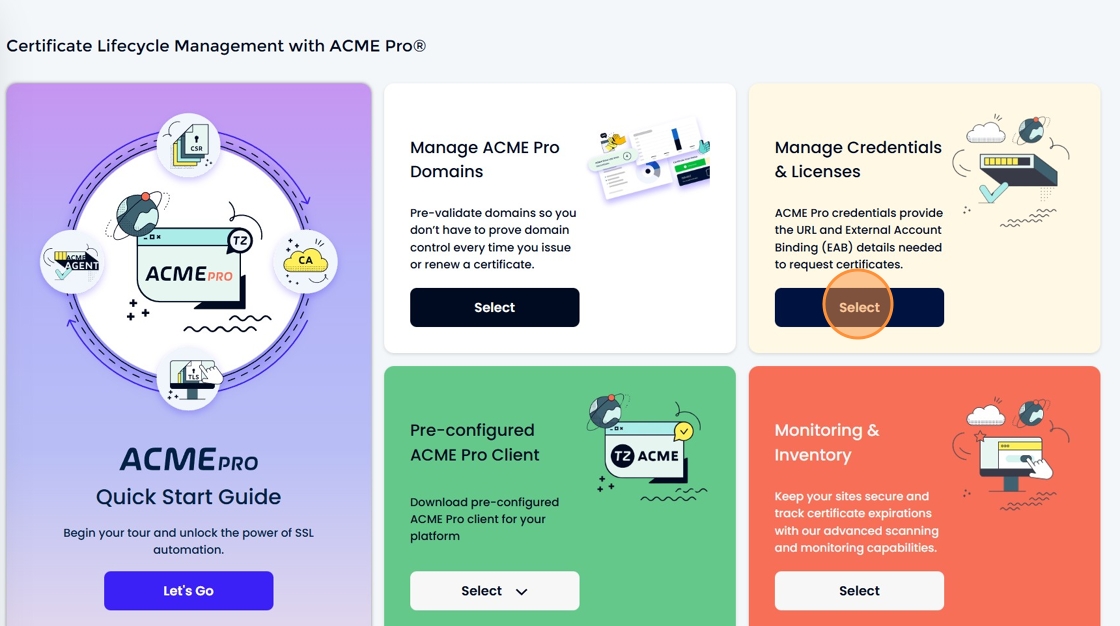
13. Please go to tcp.trustzone.com to find your credentials by clicking “Select” under “Manage Credentials & Licenses” under the “ACME Pro” tab.
14. You will need the KEY ID

15. You will also need the ACME MAC

Ensure that your credentials are still valid by looking at “Remaining Days”. If the Simple-acme client receives expired or incorrect credentials it will close without issuing the certificate
If your credentials are not valid please click the “Request a new MAC” to receive new credentials
16. The KEY ID corresponds to “Key Identifier” and the ACME MAC to your “Key (base64 encoded) in Simple-acme
17. After inputting your credentials you will now be able to get your wildcard certificate issued and you should see the client issue the certificate as the picture below.
After the issuance you will be asked if you want to specify the user the Scheduled Task uses to renew the wildcard certificate. If you do not have a specific service account you want to use for this purpose type “n”.

18. The wildcard certificate should now be available for use in IIS. Please go to your bindings an set them to the new wildcard certificate

19. Then ensure that the option “Automatic Rebind of Renewed Certificate” is enabled. This will ensure that when the wildcard certificate is renewed that all the bindings are updated as well


Jon Tittmann
Vetting/Support Team Lead & OpEx
Jon has been an integral part of TRUSTZONE for the past six years, during which he has acquired substantial expertise in the cyber security field. As the team leader for our support team, he possesses a profound understanding of the sector, enabling him to resolve even the most complex challenges within the certificate industry effectively.

Submit Your Technical Queries Here for Expert Assistance!
We will contact you as soon as possible.
Please enter your details below.
